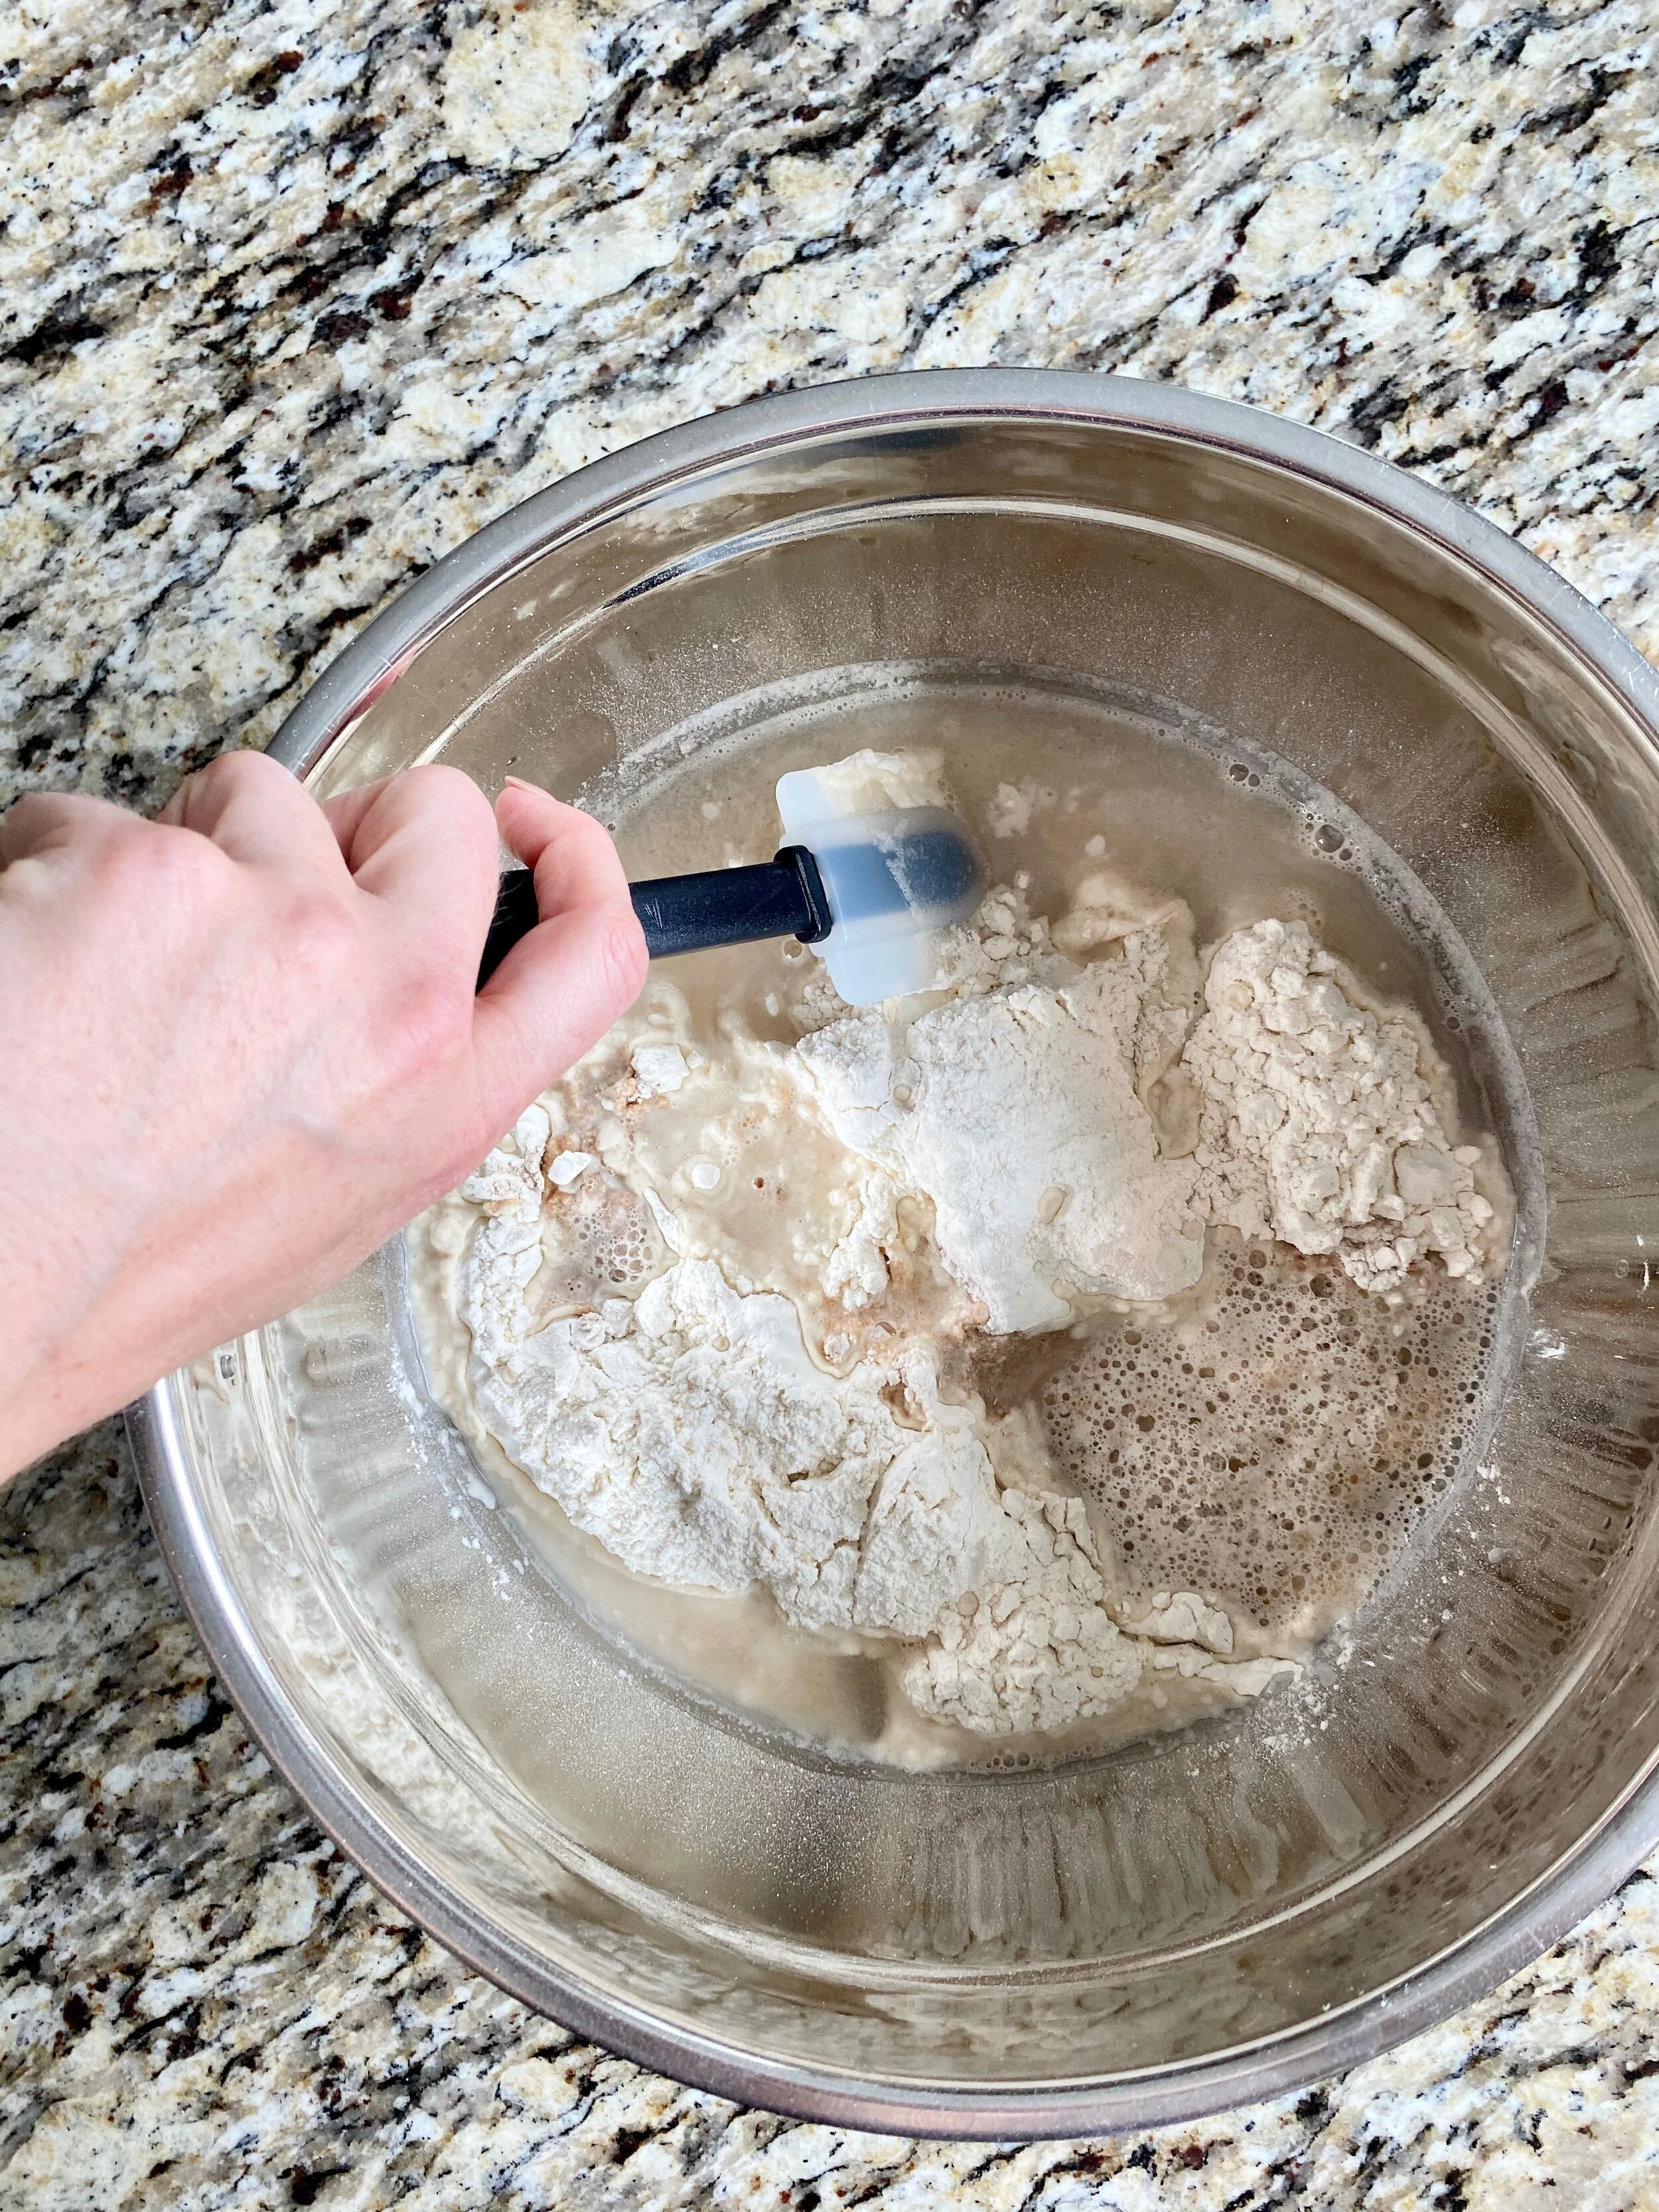
Starting Sourdough
When I say I was clueless when it came to bread baking, fermentation and creating a sourdough starter from scratch, I mean I was CLUELESS.
Take for example my first go at a sourdough starter back in 2016… I read a few “how-to” articles (thank you Chef Google) and somehow mixed together what I thought would be an easy and quick starter to begin my bread baking journey. So, I mixed some whole wheat flour and water into a glass bowl, lightly placed a lid on it and set it on the top shelf in my pantry. And then left it alone for a week. No, I didn’t forget it! I thought that’s what I was supposed to do. Oh sweet, earnest, clueless Katy… You probably won’t be surprised to hear that when I came back to it, I saw very few bubbles, and quite a bit of mold growing. Yikes. So that was the end of my sourdough attempt for quite some time.
Thinking back to this, I have to laugh at myself! And honestly, for someone that had zero guidance on starters and sourdough, I can now appreciate that that was an honest mistake after an earnest attempt. Bread baking is daunting when starting out. For what seems so simple – flour, yeast, water and salt – it can be quite tricky. So this post is for all of you aspiring bread bakers out there. I do not claim to be any sort of professional, but I have had some success. With the help of some really fabulous bread bakers out there. So I thought I would compile a little “Begin Here” list for you all. A very small guide to starting out, that I myself wish I had four years ago when I made my first attempt.
Where to Start
1. Find a great starter! This can come from your own house, as you begin your very own starter from scratch. Or if you have a friend or way to purchase an already established starter, go for it! I have done both and neither one is better than the other.
If you are beginning one from scratch – a few things to note. I recommend giving yourself ~2 weeks (1 week minimum) before planning to bake with it. Beginning a starter takes time and dedication, but is absolutely worth the wait. (I find it so grounding to watch nature do its thing with simple ingredients, time, and a little care.) A great resource I have used for creating my own starter is The Perfect Loaf. Maurizio is a wealth of information, and his blog has been a great resource in answering questions I have had along the way.
2. Tools, tools, tools. It doesn’t take many tools, but the few that sourdough baking requires will be SO helpful. Here is my short list:
· Small food scale – this is the one I have, and I have loved using it. It is very sleek and lightweight, and measures in grams, ounces, …. You will find that different recipes used different metrics (cups vs weight), but the majority of your recipes will list ingredients by weight (grams). So you will want a scale that measures in grams.
· Proofing basket – here is an example of a proofing basket. They are very helpful to have on hand for bulk fermentation (the long time you leave your bread loaf alone to rise). If you don’t have a proofing basket, that’s okay. A large bowl will do.
· Basic Thermometer – you can find any simple thermometer that works for you, like this one. I use the thermometer when checking the temperature of the water I add to my dough. It will come in handy, as there are lots of recipes that give specific water temp instructions.
· Dutch oven – a necessity when baking sourdough! But also a great investment for any cook. ;) Here is the one I have (minus the chicken knob!).
· A sharp razor blade, scissors or knife for scoring – when “scoring” your bread, it essentially means cutting a thin line across your loaf prior to baking it. This helps maximize the rise potential of your loaf while baking.
3. Choose a simple recipe and go for it! The first loaf can be intimidating yet so exciting. There are many great resources and blogs online with recipes available. I also love Bonnie Ohara’s book Bread Baking for Beginners.
4. Plan ahead. After you have selected a recipe, I definitely encourage you to diligently read through it and map out the time it will take from start to finish. Though you may not be spending a lot of time handling the bread dough, sourdough needs plenty of time to ferment and rise. So be sure to map out the amount of time you need to commit to being around for your loaf. Often times, you can plan it out to where the dough ferments while you are at work or overnight. So just plan accordingly.
Now Time to Jump In!
I hope my tips were helpful for you and a quick start to what the bread-making process looks like. I have made plenty of mistakes along the way and will continue to. But it sure does make my registered dietitian heart happy to know that I am working with such simple ingredients to make something so beautiful and nutritious. I can’t promise it is low-carb ;). But fermented foods are increasingly being shown to be beneficial for gut health. Not to mention, if your family goes through bread pretty quickly, this is a cost-saving way to provide a nutritious and yummy option. Bon appetite bakers!


